




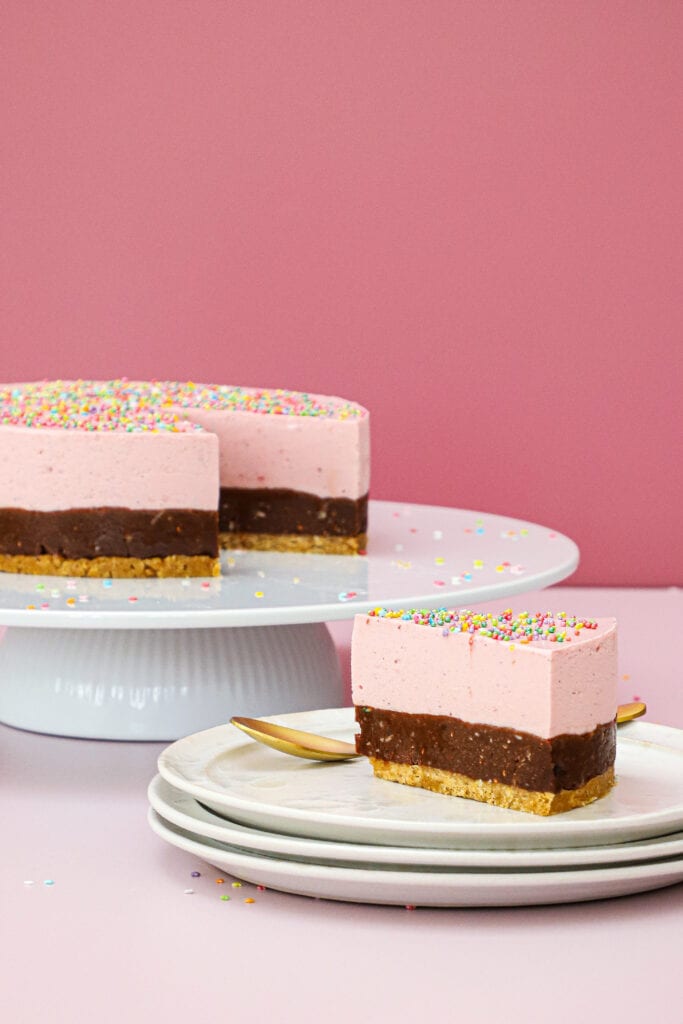
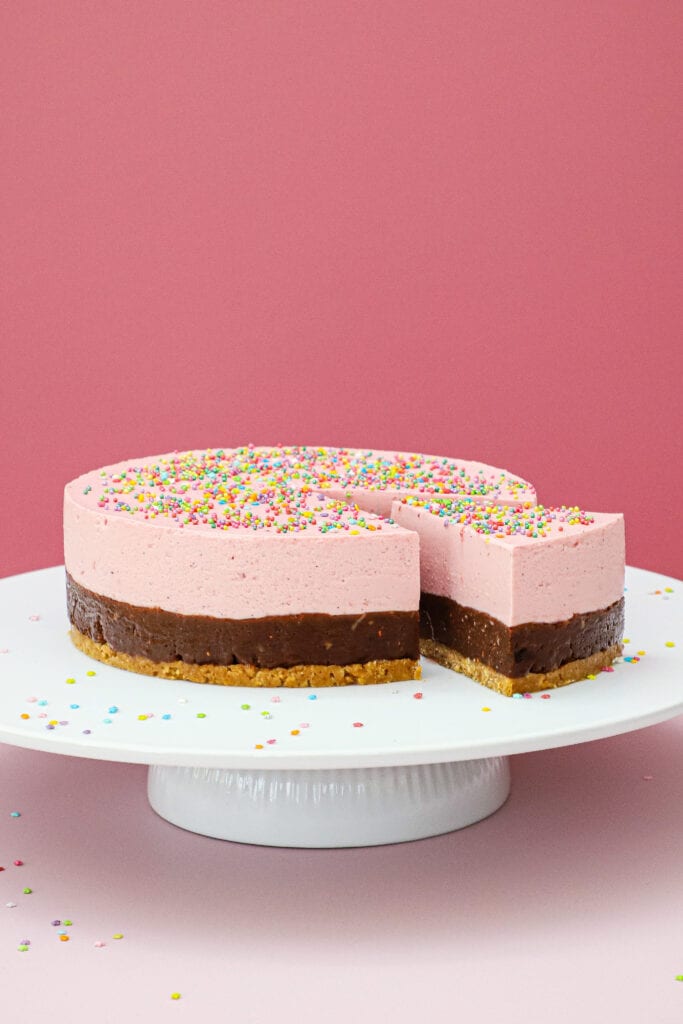
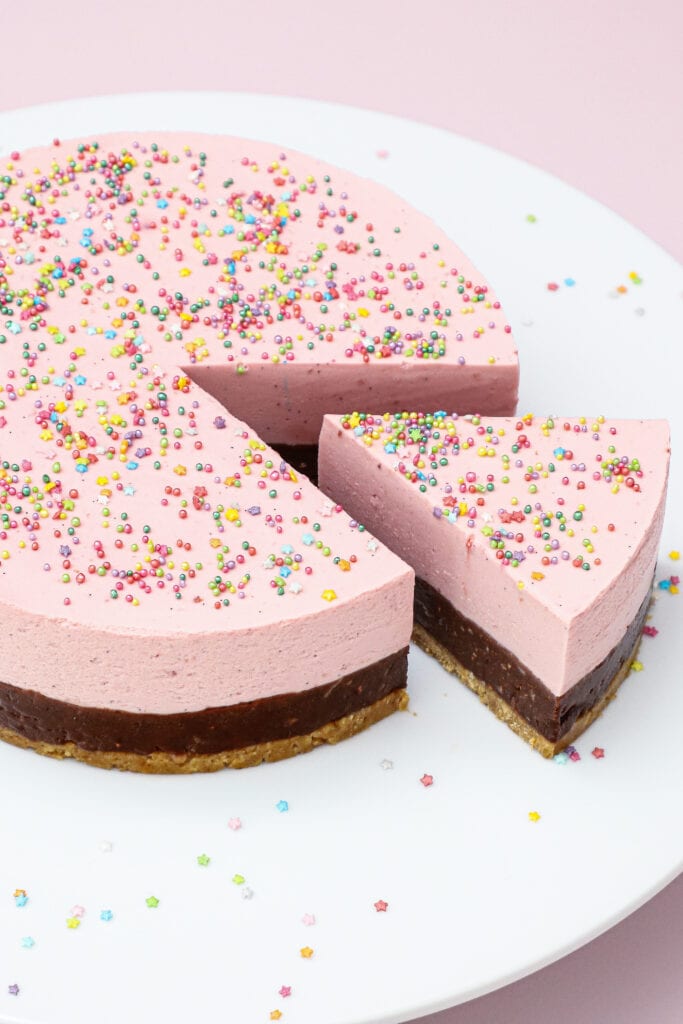
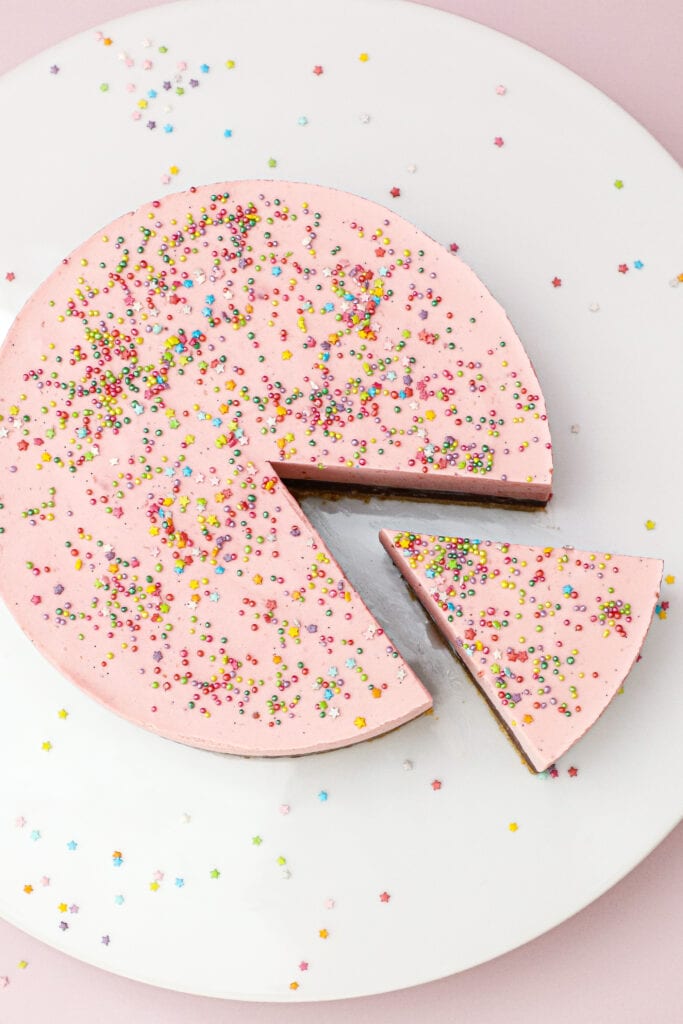
A studenterbrød mousse cake with raspberry mousse, a layer of rum-ball cake and a crisp biscuit base – a twist on studenterbrød, the Danish bakery classic of rum-ball cake with pink icing and sprinkles.
A lovely combination, and a sure favourite with anyone who loves studenterbrød.
The cake is the “little sister” of my studenterbrød cheesecake – click here for the recipe, and is made for everyone who doesn’t care for cheesecake, or simply prefers a mousse cake.
It tastes wonderful and is very easy to make.
A perfect mousse cake all year round, a perfect graduation cake, or simply one for those who are mad about studenterbrød.
If you are making a graduation cake this year, – try the recipe below.

Studenterbrød mousse cake
Recipe for a wonderful raspberry mousse cake with a layer of studenterbrød (Danish rum-ball cake) and a crisp biscuit base.A graduation cake for the graduation party, or for anyone who loves studenterbrød.
Love this recipe?
Gourministeriet cookbooks
Three beautiful cookbooks from Dianna — packed with kitchen inspiration. Buy the set and save 210 kr.
Kitchen inspiration
Fast delivery in 1-2 days
Save 210 kr
Favoritter, noter & indkøbsliste
Gem opskrifter, skriv private noter og brug den smarte indkøbsliste — alt samlet i Gourministeriets app.
Premium from DKK 24.92/month · Cancel anytime
Ingredients
Biscuit base
- 100 g digestive biscuits
- 30 g almonds
- 60 g butter
- 1/2 tsp vanilla sugar
Rum-ball mixture
- 500 g leftover cake Cake trimmings or any plain leftover cake
- 50 g dark chocolate (50–60%), melted
- 1 1/2-2 tbsp rum essence
- 1 1/2-2 tbsp cocoa powder
- 50 ml jam I like to use 50 ml of the raspberries strained out of the syrup
Raspberry syrup for the mousse*
- 250 g raspberries, frozen or fresh
- 160 g sugar
- 1/2 vanilla pod, seeds scraped out
- 2 tbsp lemon juice
Raspberry mousse
- 250 ml whipping cream (38% fat)
- 200 g Greek yoghurt
- 4 sheets leaf gelatine
- 150 ml raspberry syrup*
You will also need
- Cake ring or springform tin, approx. 18–20 cm
- Acetate cake collar
- Sprinkles

Cook this recipe in the app
Step-by-step with the screen staying on — add to your meal plan and shopping list with one tap.
Method
Biscuit base
- Melt the butter in a saucepan.
- Blitz the biscuits and almonds to a fine crumb, and stir together with the melted butter and vanilla sugar.
- Line the base of a springform tin with baking parchment, then fit an acetate cake collar around the inside of the ring. If using a cake ring, place it on a chopping board with a sheet of baking parchment underneath, and line the inside of the ring with acetate.
- Tip the biscuit mixture in and press it down firmly so the whole base is covered. Chill and leave to rest.
Rum-ball mixture
- Crumble the leftover cake into a bowl. If there are large pieces or nuts in the cake, I prefer to blitz them in a blender first.
- Tip the crumbs into a mixing bowl and add the melted chocolate, cocoa powder, jam and vanilla. Mix with dough hooks until everything is well combined.
- Add the rum essence a little at a time, tasting as you go. If, like me, you love the rum flavour, simply add 2 tbsp and stir it into the cake mixture.
- Break the mixture into pieces and press it firmly down over the biscuit base, until you have an even layer across the whole base. It is important that it is pressed together well, so the cake cuts into neat slices.
- Return the cake to the fridge while you make the raspberry mousse.
Raspberry syrup for the mousse*
- Put all the ingredients in a saucepan, including the empty vanilla pod, and bring to the boil.
- Let the raspberry syrup simmer over a medium heat for about 10–15 minutes, until slightly thickened.
- Strain the mixture through a fine-mesh sieve – you should have about 150 ml of syrup. Top up with a little water if needed.
- Pour the syrup back into a small saucepan – you will use it to dissolve the gelatine (see the next step, "Raspberry mousse").
Raspberry mousse
- Soak the gelatine in a large bowl of cold water for about 15 minutes.
- Squeeze the water out of the gelatine sheets and stir them into the hot raspberry syrup (with the heat turned off), one at a time. Let the syrup cool to about 30°C.
- Meanwhile, whip the cream to soft peaks.
- Stir the yoghurt and raspberry syrup together in a bowl until smooth. Add the syrup a little at a time, which makes it easier to combine.
- Fold the whipped cream into the yoghurt mixture in a couple of batches – take care not to knock too much air out of the mousse.
- Pour the mousse over the base and tap the cake gently on the worktop a couple of times to bring any air bubbles to the surface. Chill for at least 3 hours or until set – preferably overnight.
- Carefully peel the acetate collar off the studenterbrød mousse cake, and place the cake on a serving plate.
- Decorate the cake with mixed sprinkles and serve.
Nutrition
PremiumNæringsindhold er for Premium
Se kalorier, protein, fedt, kulhydrater og mere pr. servering.
Become a Premium member
Fra 24,92 kr/md · Opsig når som helst
Gourministeriet in your pocket
Everything you love about Gourministeriet — ad-free, faster and always to hand.
Ad-free
All recipes
This week's meal plan
Smart shopping list
Save favourites
Quick search
Premium from DKK 24.92/month · Cancel anytime
Works on iPhone, iPad and Android
See Premium features →

View this recipe in the Gourministeriet appAd-free · Meal plan · Shopping list · Step-by-step
Open in app
iPhone · iPad · Android
Hejsa – jeg overvejer at lave den som en talkage – fordi jeg elsker cheesecake varianten, men tror du man kan gøre sådan at jeg kan sprøjte moussen ud på kagen i en sprøjtepose eller vil det slet ikke være muligt?
Hej Louise
Jeg tror desværre moussen er for tynd til at sprøjte på kagen, indtil husblassen har sat sig i hvert fald:)
Om du kan vente på den sætter sig og så sprøjte på, det tør jeg dog ikke svare på om det vil fungere:)
Warm wishes, Dianna
Hej Dianna.
Jeg har noget Monin hindbærsirup, som jeg gerne vil bruge, i stedet for selv at lave det denne gang. Hvor meget vil du skyde på at jeg skal bruge?
Vh. Pia
Hej Pia
Uhhh den kender jeg ikke, så ved ikke hvor kraftig eller sød den er i smagen.
Jeg vil nok starte med at bruge måske kun halvdelen af flormelissen, så kagen ikke bliver for sød. Og så hellere tilsætte mere når du har tilsat den mængde sirup som kagen skal have:)
Mht. siruppen, – hæld det i et deciliter mål så du har styr på hvor meget du bruger:) Blot så du ved om der skal ekstra husblas i, hvis du bruger mere sirup end beskrevet i opskriften:)
Warm wishes, Dianna
Kan man lave den to dage i forvejen?
Hej Line
Det kan du sagtens gøre 🙂
Jeg vil anbefale dig at lade den stå i kageringen indtil dagen hvor den skal serveres, – så du ikke risikerer at støde kanterne:)
Rigtig god fornøjelse 🙂
Warm wishes, Dianna
Hej Dianna.
Kan kagen laves på forhånd og fryses ned?
Med venlig hilsen
Diana
Hej Diana
Det kan du sagtens gøre ja, – men du kan også lave den et par dage i forvejen og blot lade den står på køl i formen 🙂
Warm wishes, Dianna
Kan man lave moussen blå, så den kan bruges til studenterfest? Hvordan virker blå farve i hindbær mousse?
Hej Nina
Jeg tror desværre den bliver mere lille end blå, – da lyserød og blå vil blive lilla ved blanding.
Så skal du toppe den med en almindelig vaniljeostecreme og farve den blå 🙂
Warm wishes, Dianna